Submission Guide
1. REGISTRATION
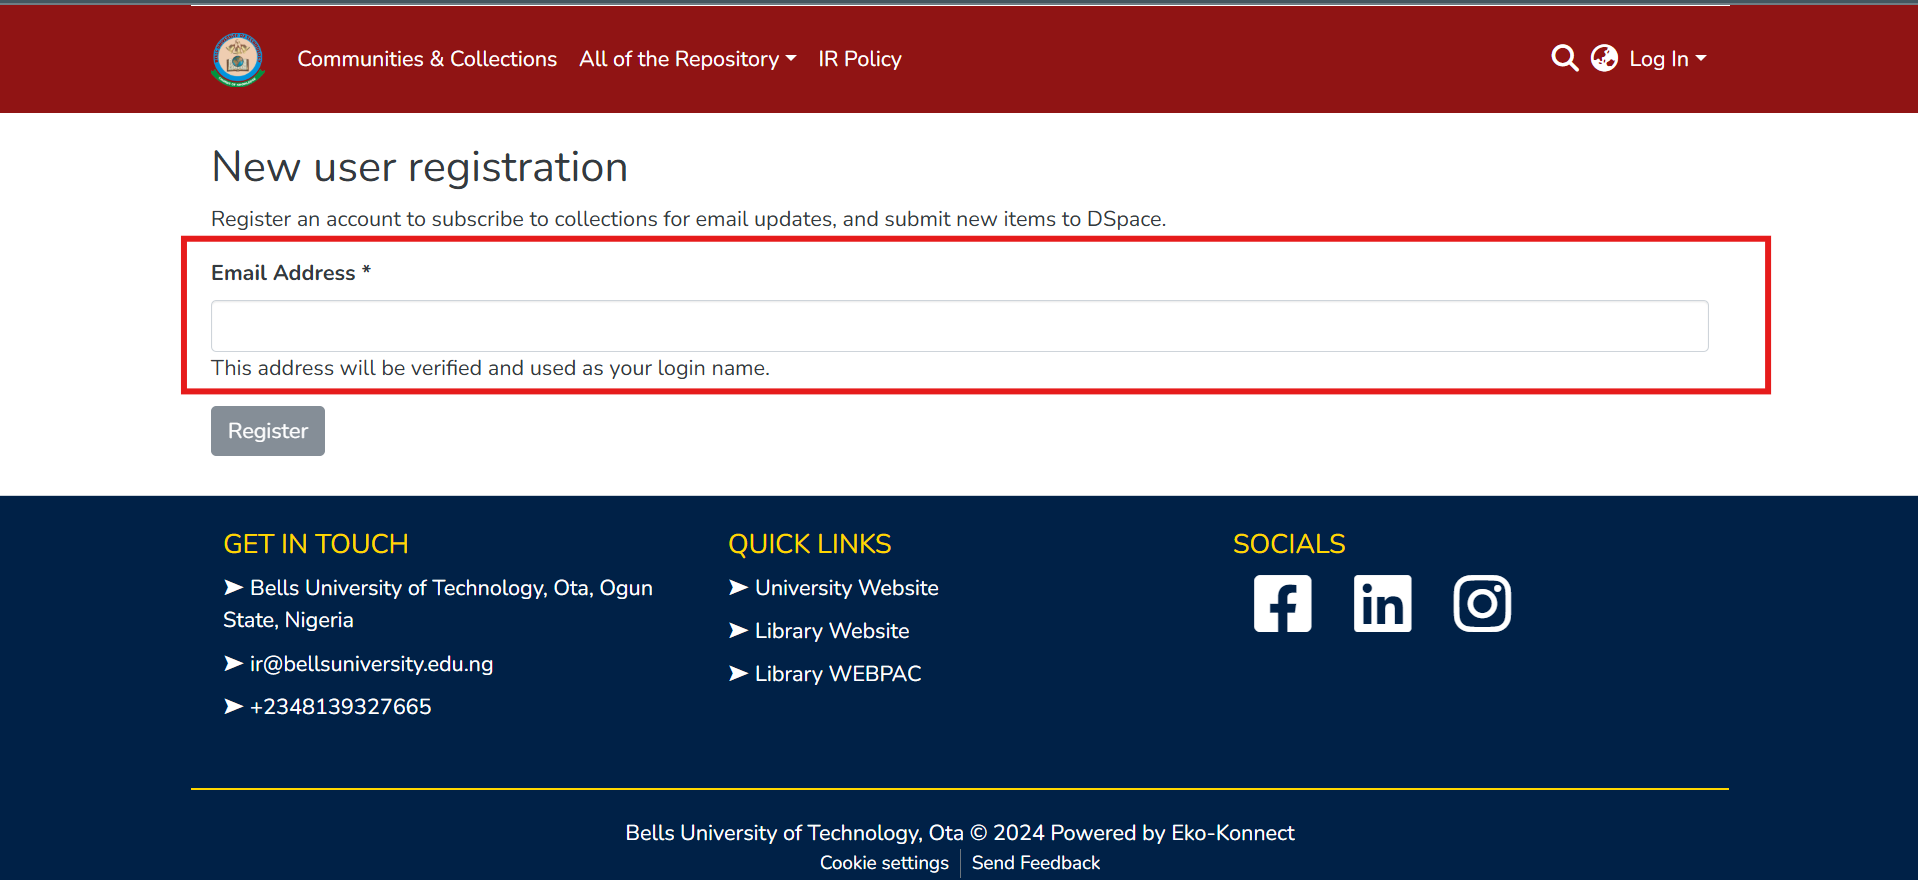
https://ir.bellsuniversity.edu.ng/register
Enter your official email address and click “Register”
You’ll get an email containing a link to complete the registration, click on the link, or paste it into your browser
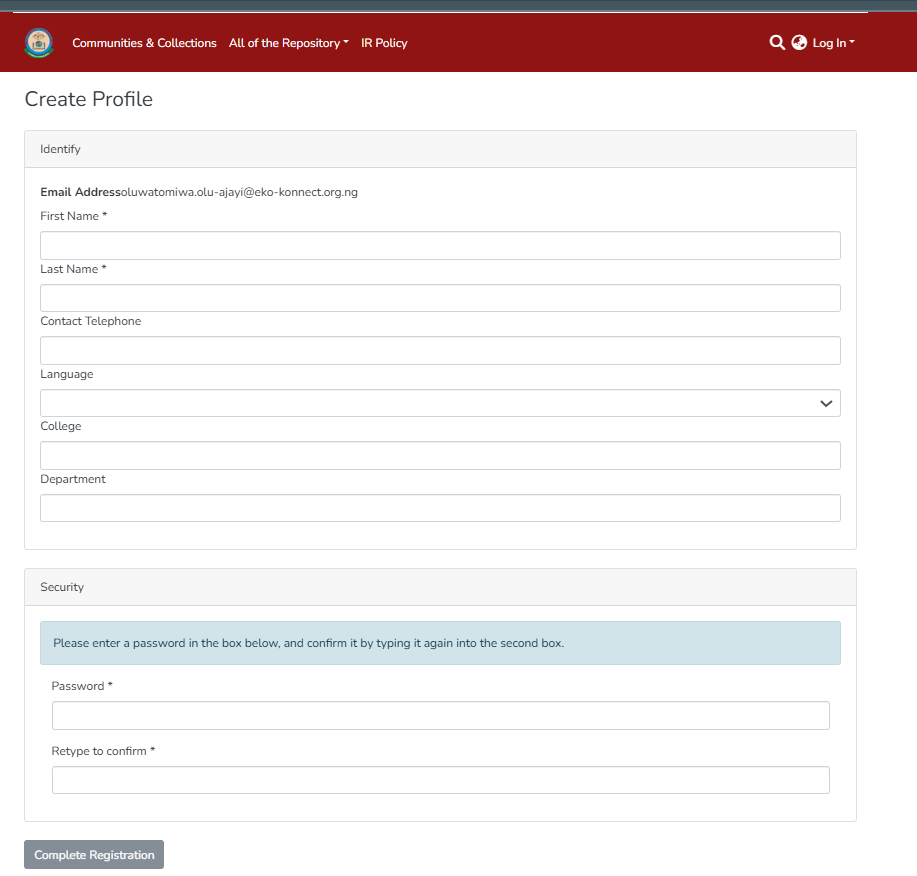
Fill in all the fields with the appropriate information and click on “Complete Registration” (College and Department are compulsory)
2. LOGIN TO YOUR ACCOUNT
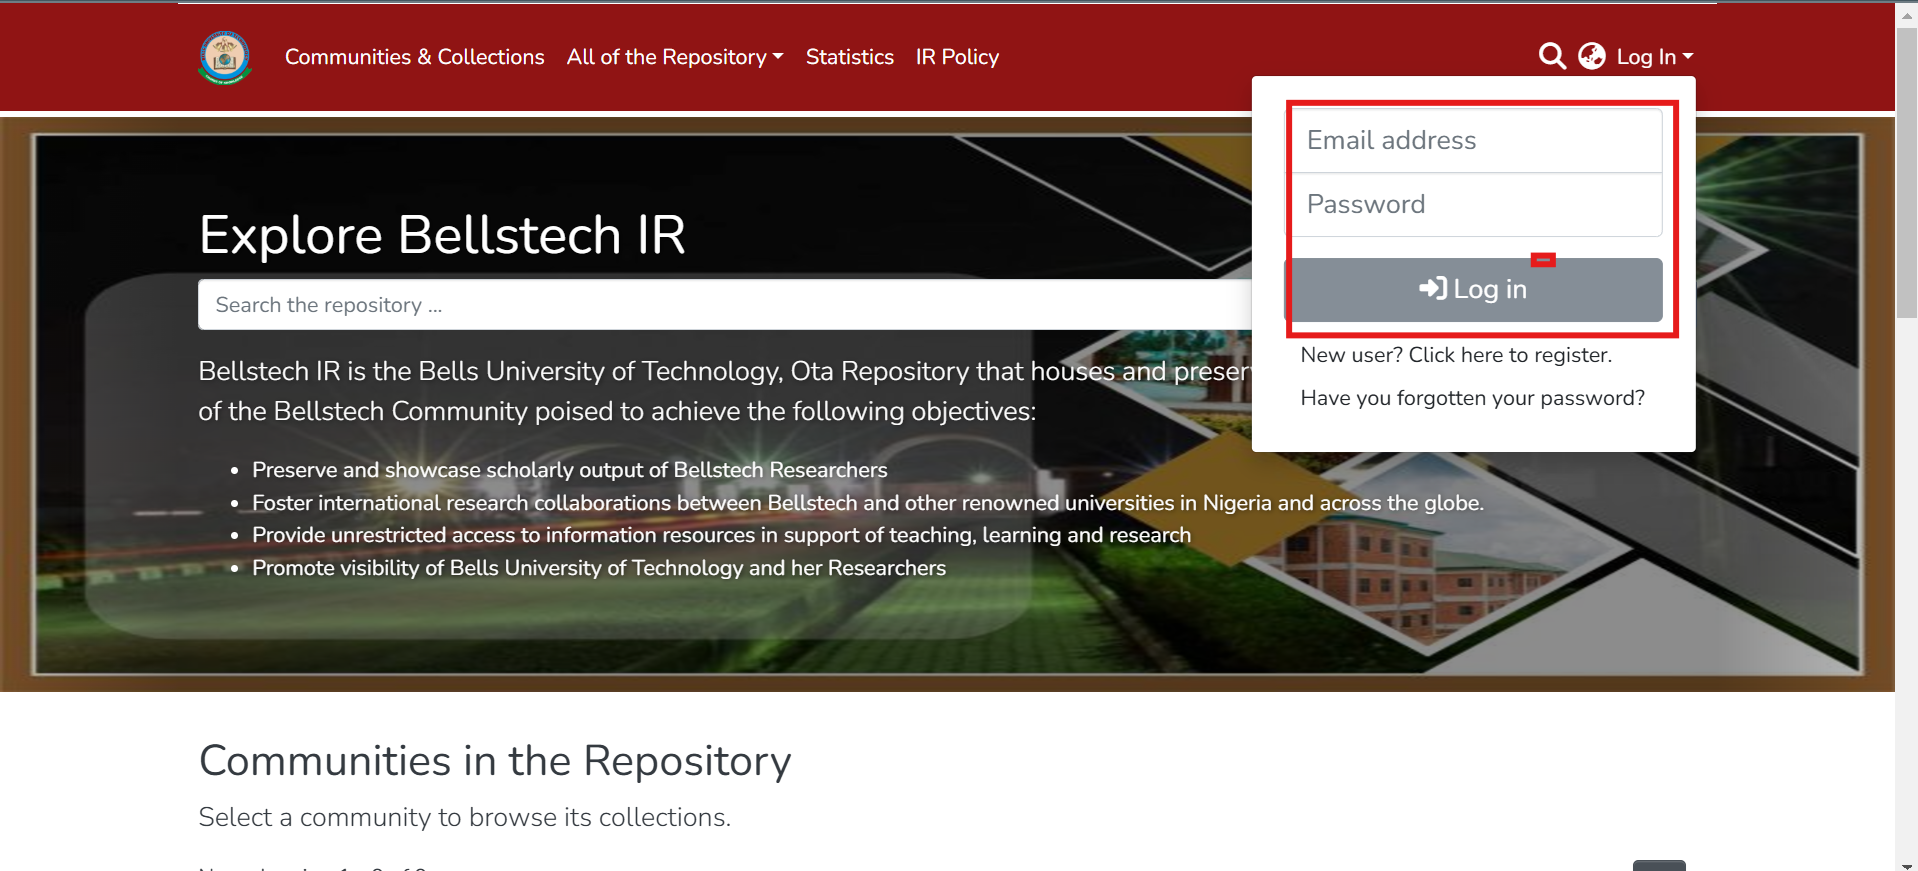
https://ir.bellsuniversity.edu.ng/homeLog in with your email and password.
3. ADD A NEW ITEM
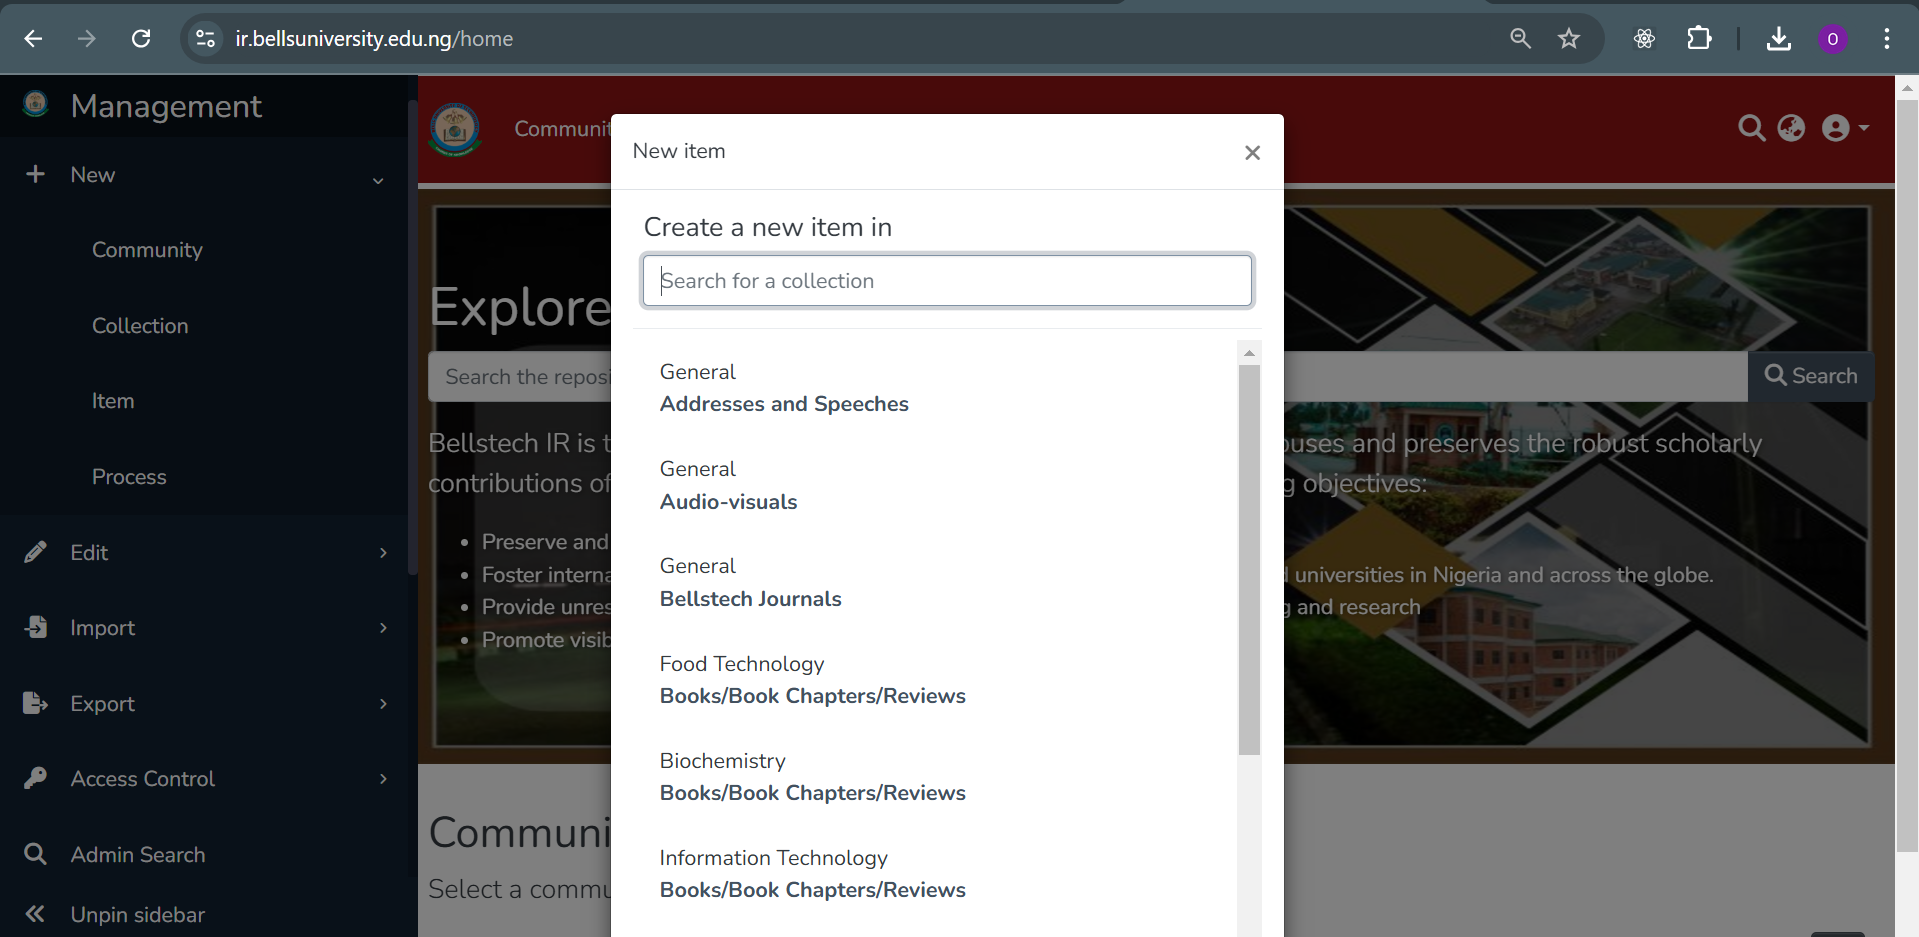
- In the left panel, click on the “+”(New) icon and select Item
- Select the collection to which you want to add the item to. Either by scrolling or searching for the collection name.
4. SUBMISSION FORM
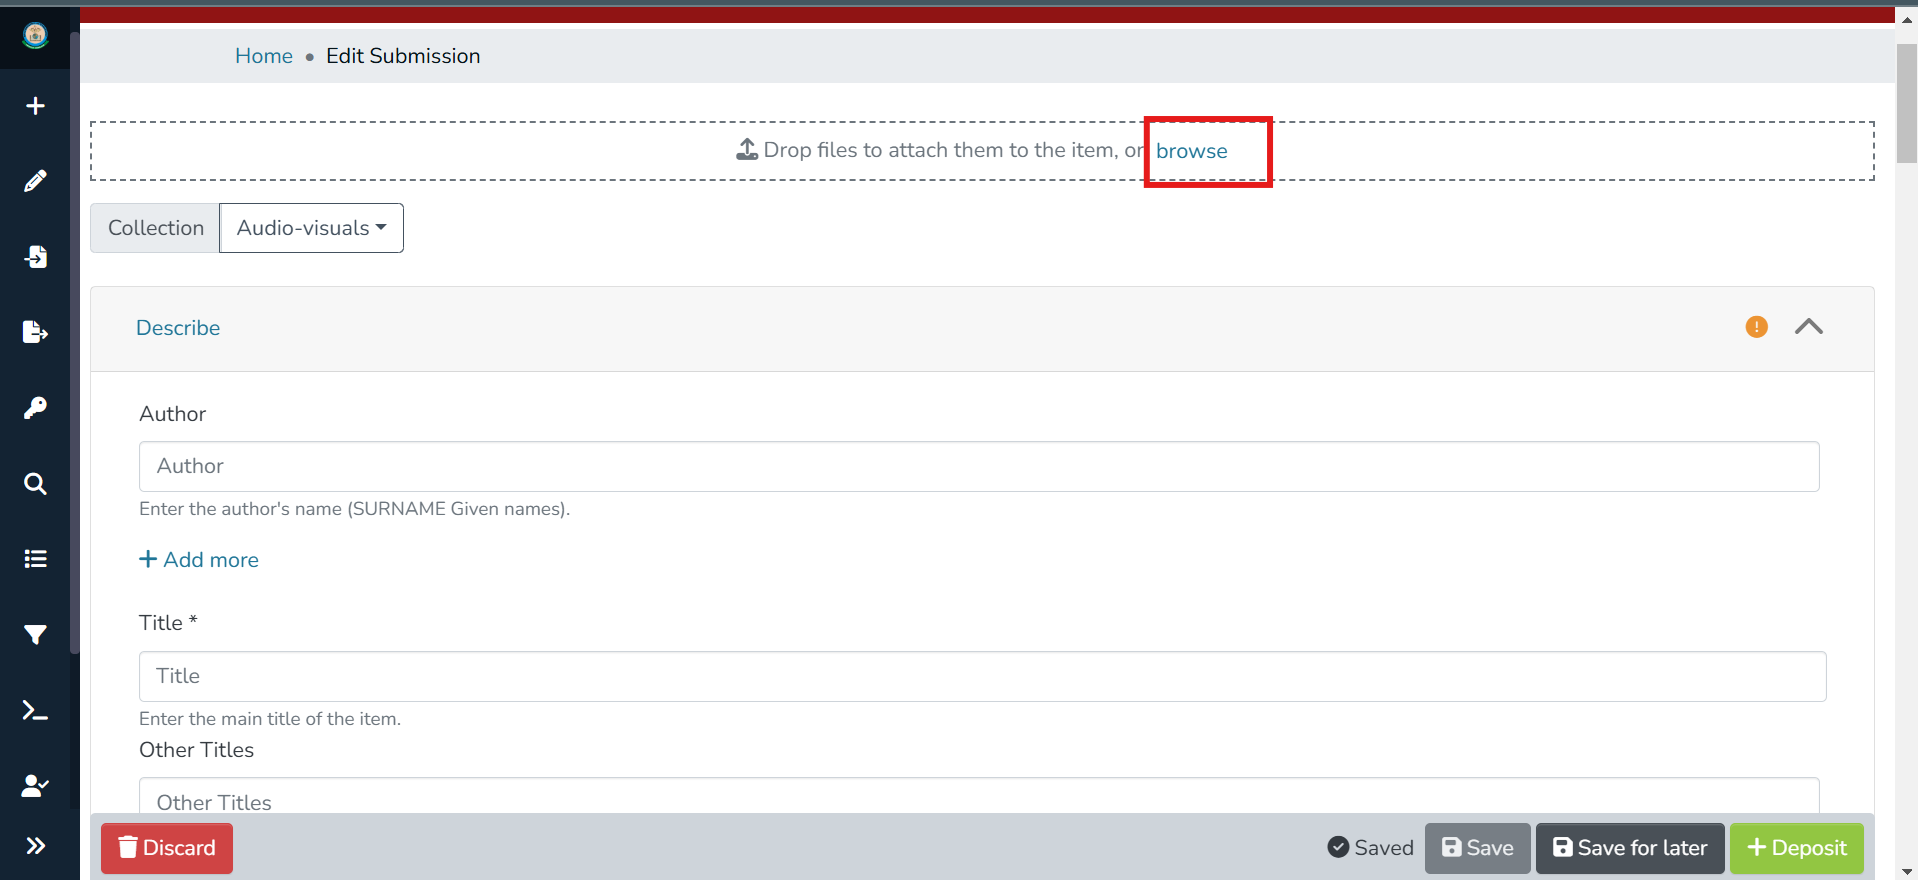
- Click Browse to upload files from your computer.
- Author: Type out the author’s name(SURNAME, Other names).
- Click Add More to add more authors.
- Title (Compulsory field): The title of the article, question paper, proceedings etc.
- Other Titles for any other titles.
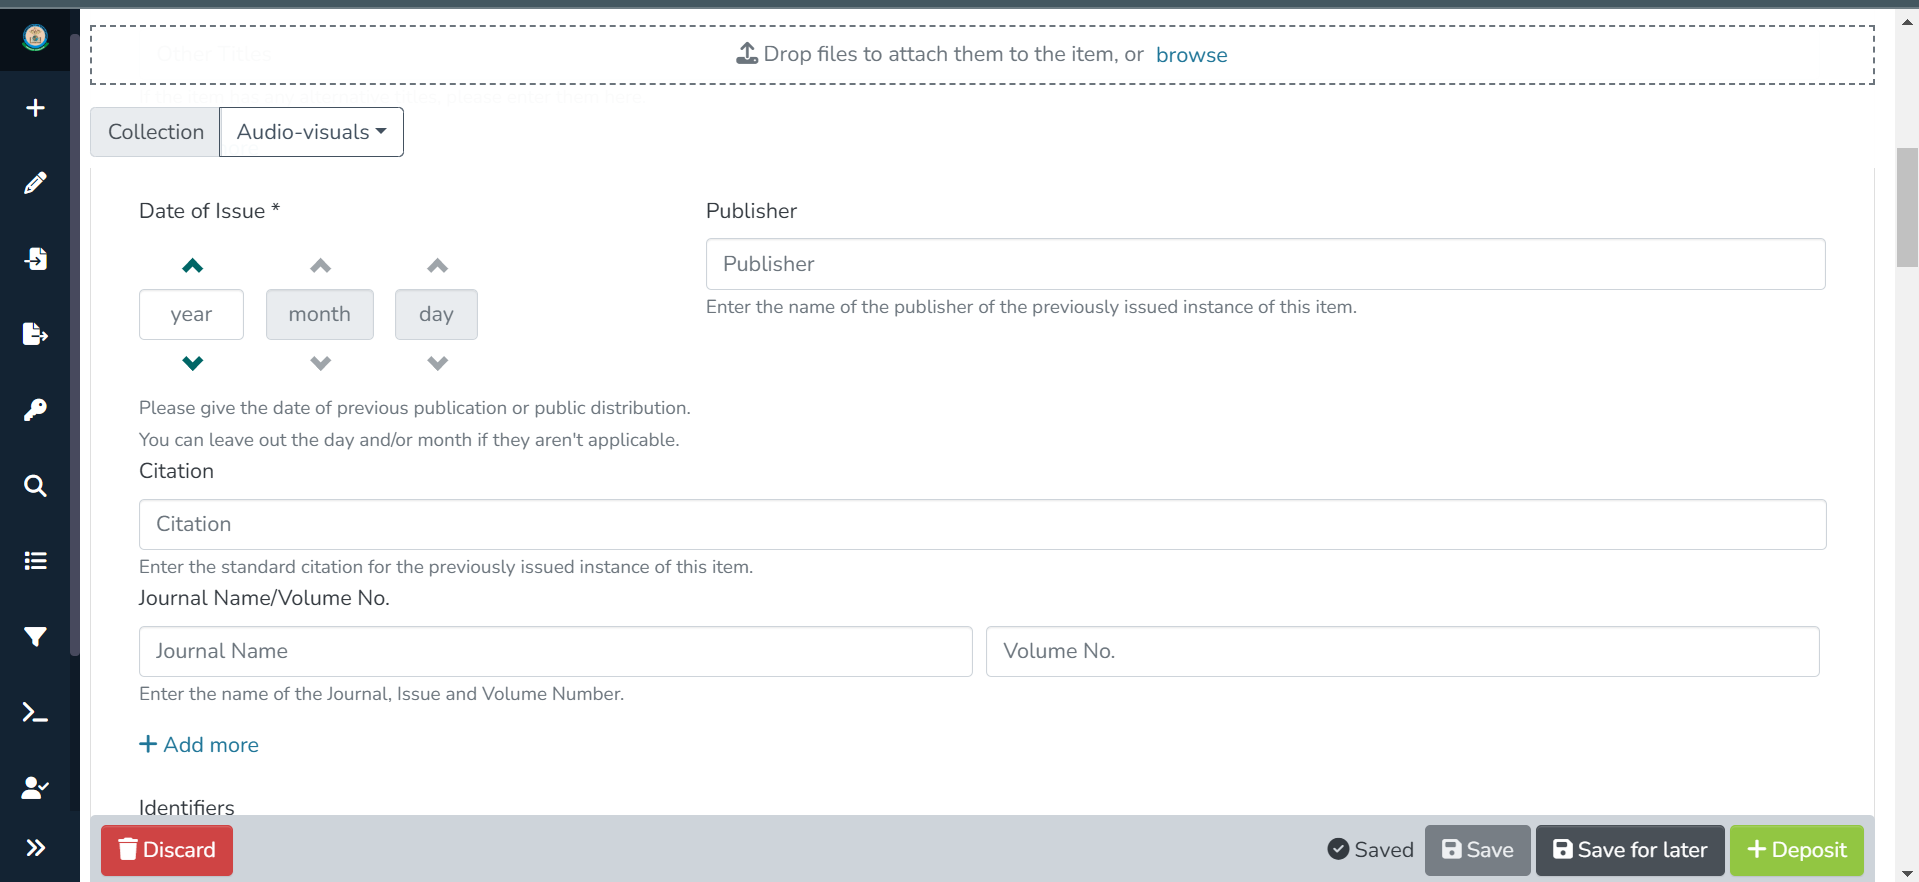
- Date of Issue: Scroll through the options and select the Year, Month, and Day. Note that the Year is a compulsory field.
- Publisher: Type in the publisher’s name.
- Citation: Add citation if available.
- Enter details of the Journal or Volume Number of the Item (if applicable).
- Click Add More to include more Journal or Volume Numbers.
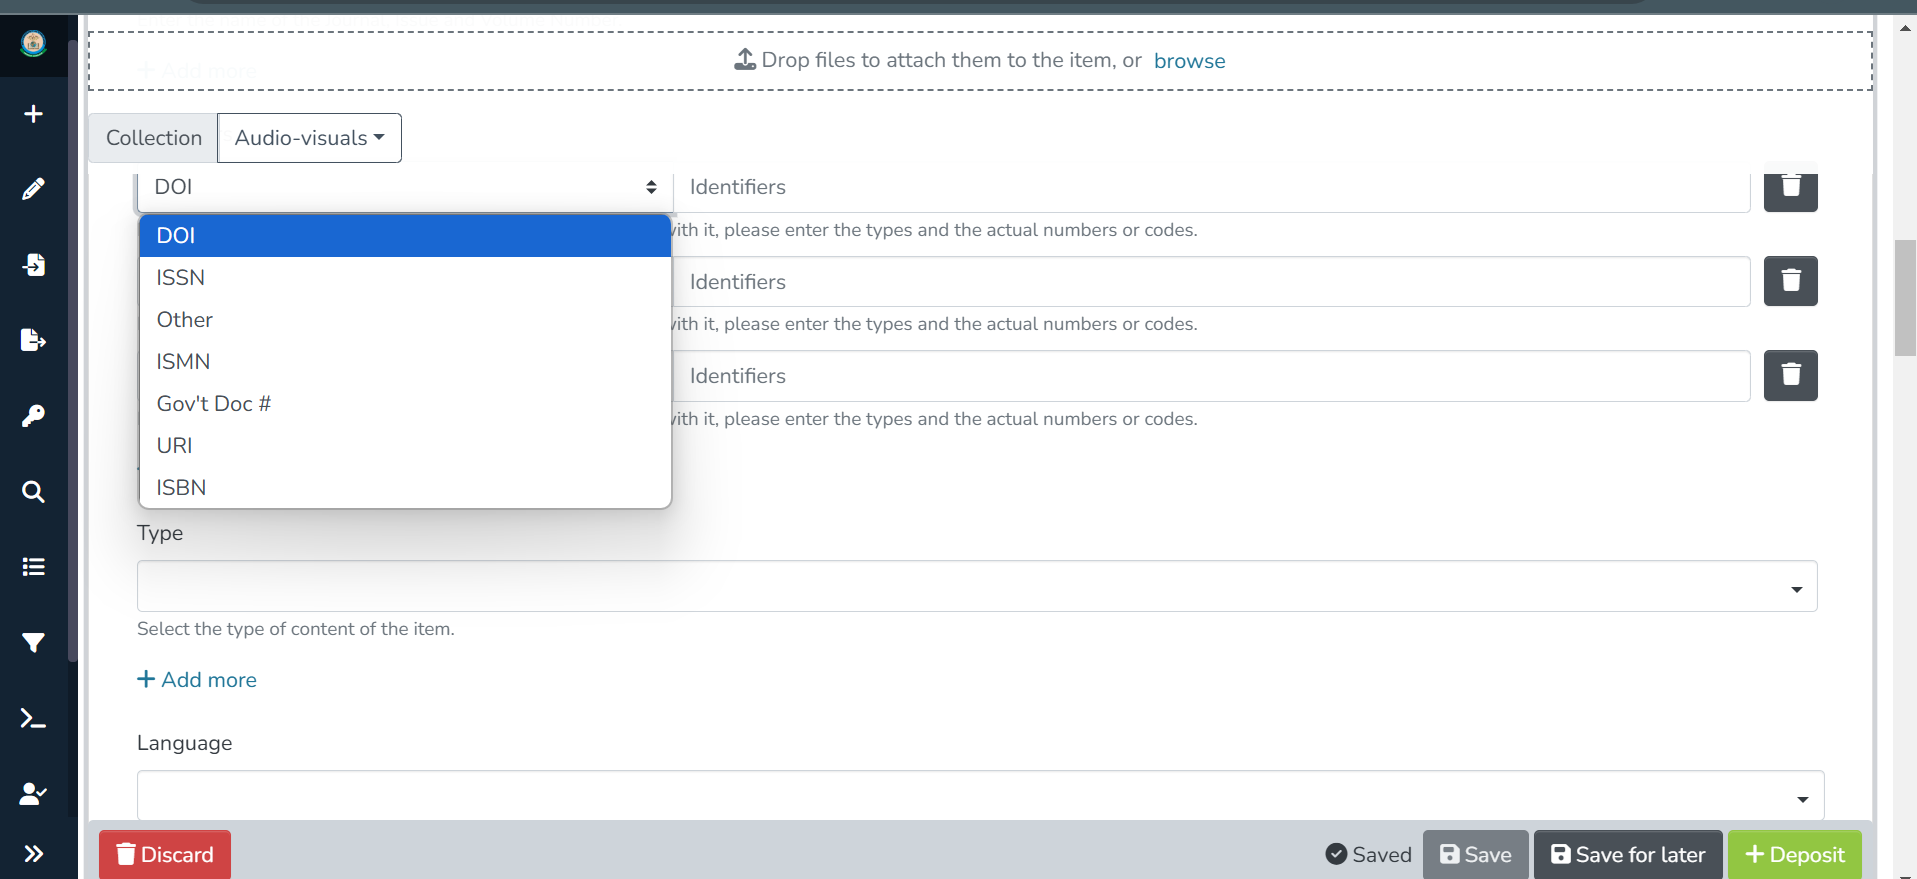
- Identifiers: Select from the drop-down your required identifier and type the details in the identifiers field.
- Click Add More to add other identifiers.
- Type: Select the type of content that best describes the file, and click Add More to add more types.
- Language: Select the drop-down language of the main content of the item.
- Keywords: Type out keywords for the item. Press ENTER after each entry to save your input.
- Abstract: Type here the Abstract of the item.
- Sponsor: If available, include names of sponsors related to the item.
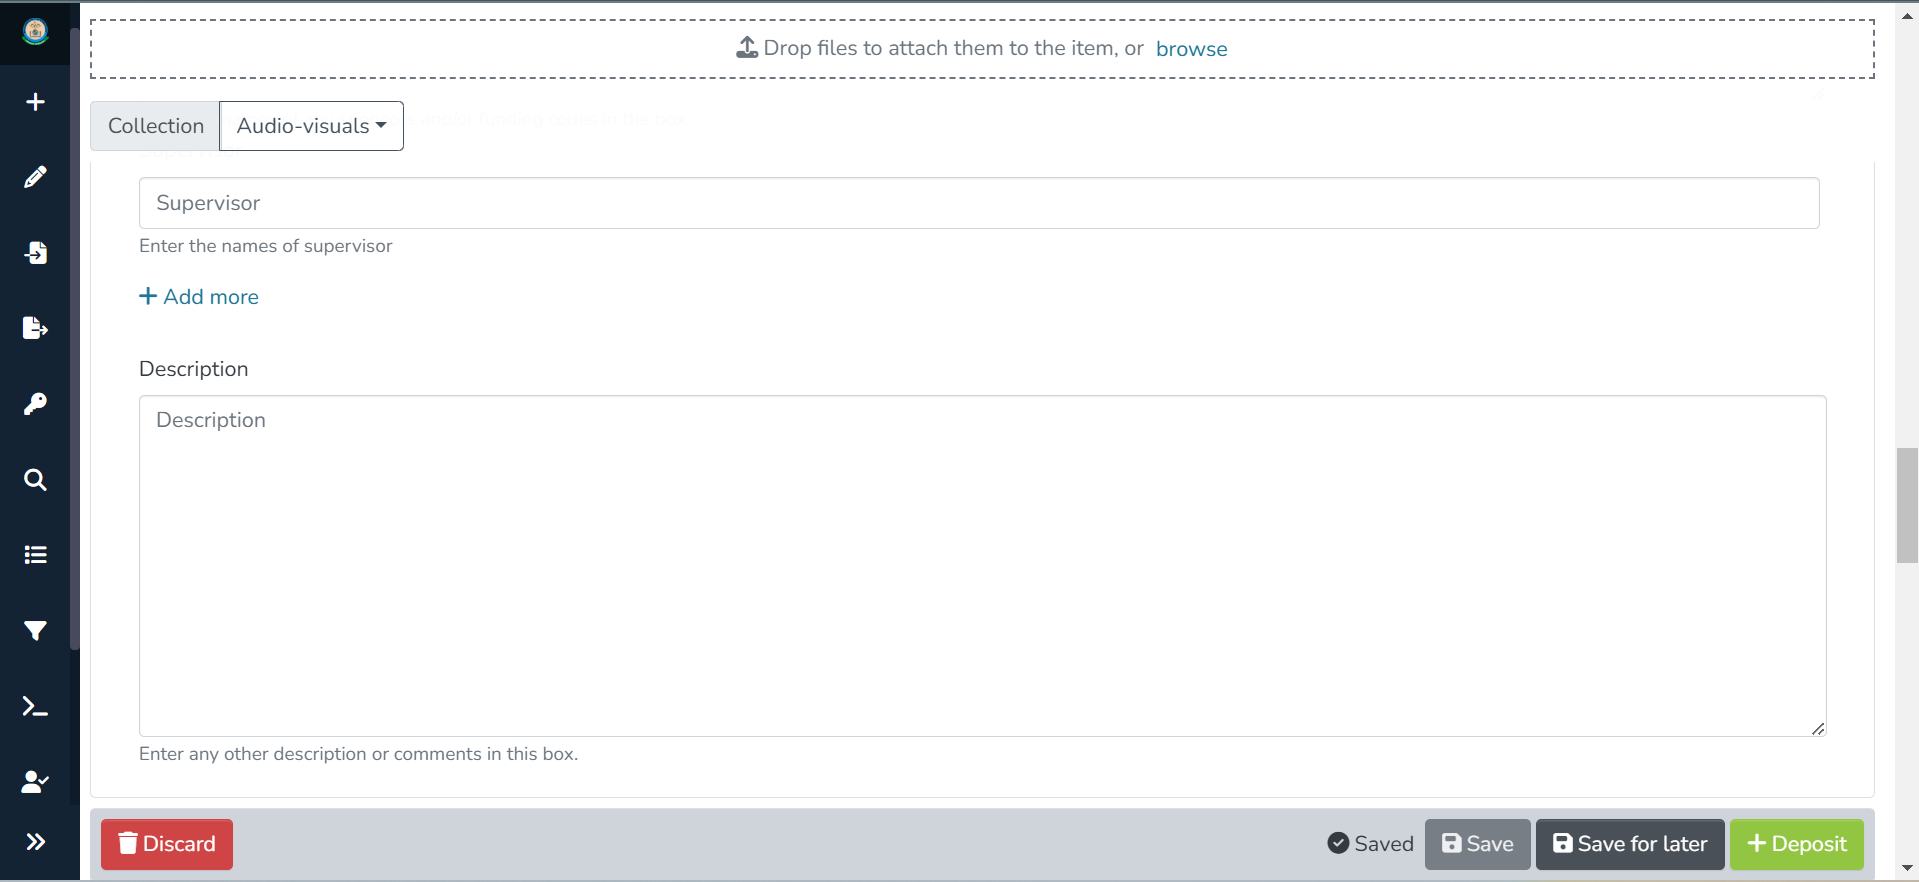
- Supervisor: Provide the name of the Supervisor (when applicable).
- Click Add More to add other names.
- Description: A description of the item.
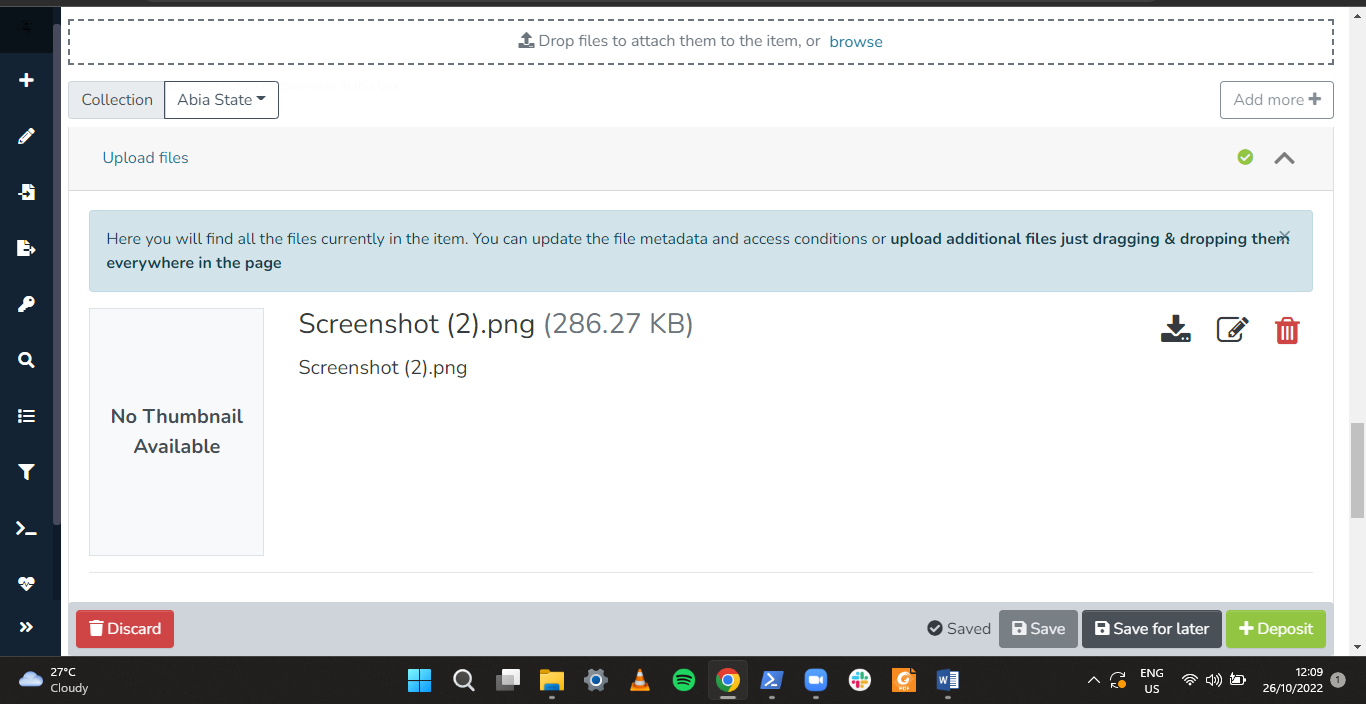
- Click the Icon to make edits to the respective files.
- Delete files using the Bin Icon.
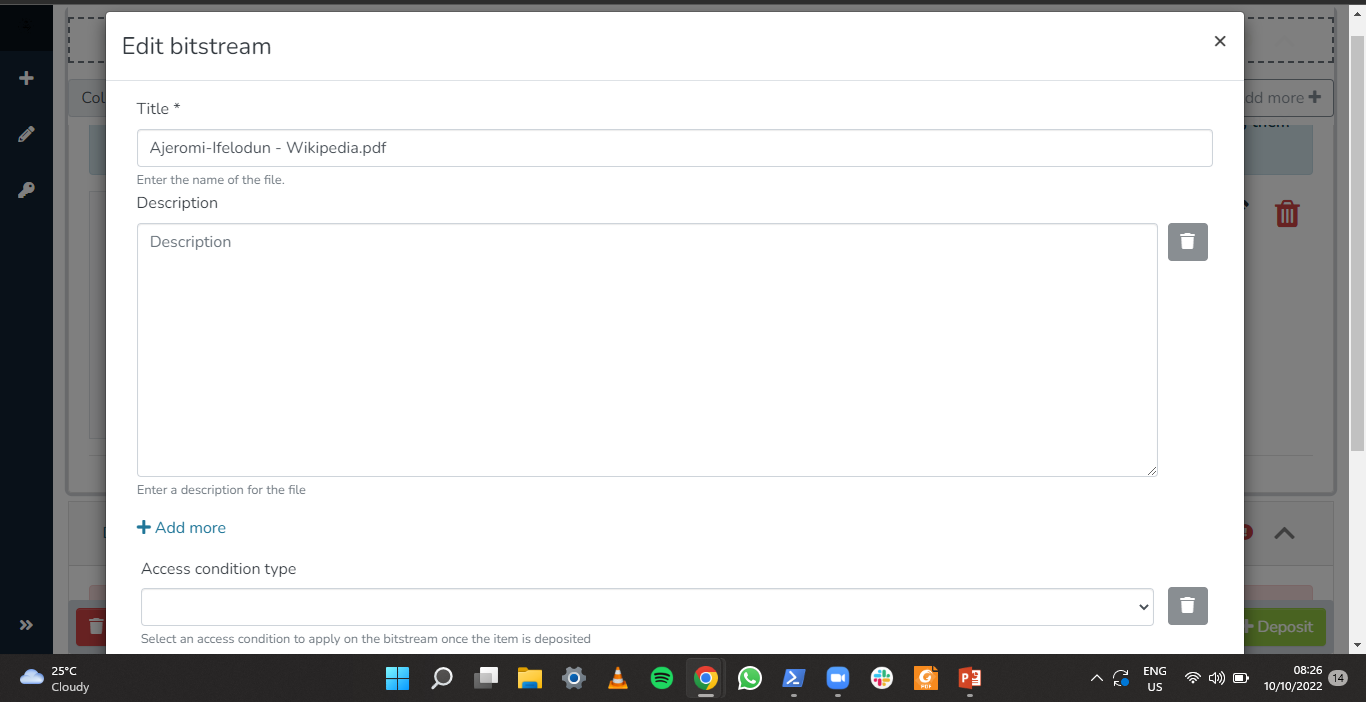
- Title: Here you can edit the file name.
- Description: Add a description to the file. (optional).
- Access Condition: From the drop-down select ‘Open Access’ to make the item public.
- To restrict an Item and make only the metadata available publicly, select the Embargo option and pick a date in the future. The longer the date, the longer the item is restricted.
- Select Administrator Access to make items available for only the repository admins.
- Select a license type for your submission from the dropdown.
- CC0 (Creative Commons Zero): This license places the work in the public domain, meaning the creator waives all rights to the work, allowing anyone to use, modify, and distribute it freely without any restrictions, even without attribution. Learn more.
- Creative Commons (general): Refers to a set of licenses that provide varying levels of permissions for users. These licenses let the creator dictate how their work can be used (e.g., whether attribution is required, if commercial use is allowed, etc.).
- If you choose this option, you have to answer these questions to select an appropriate license to be generated for your work. Use the “?” icon to read about each option.
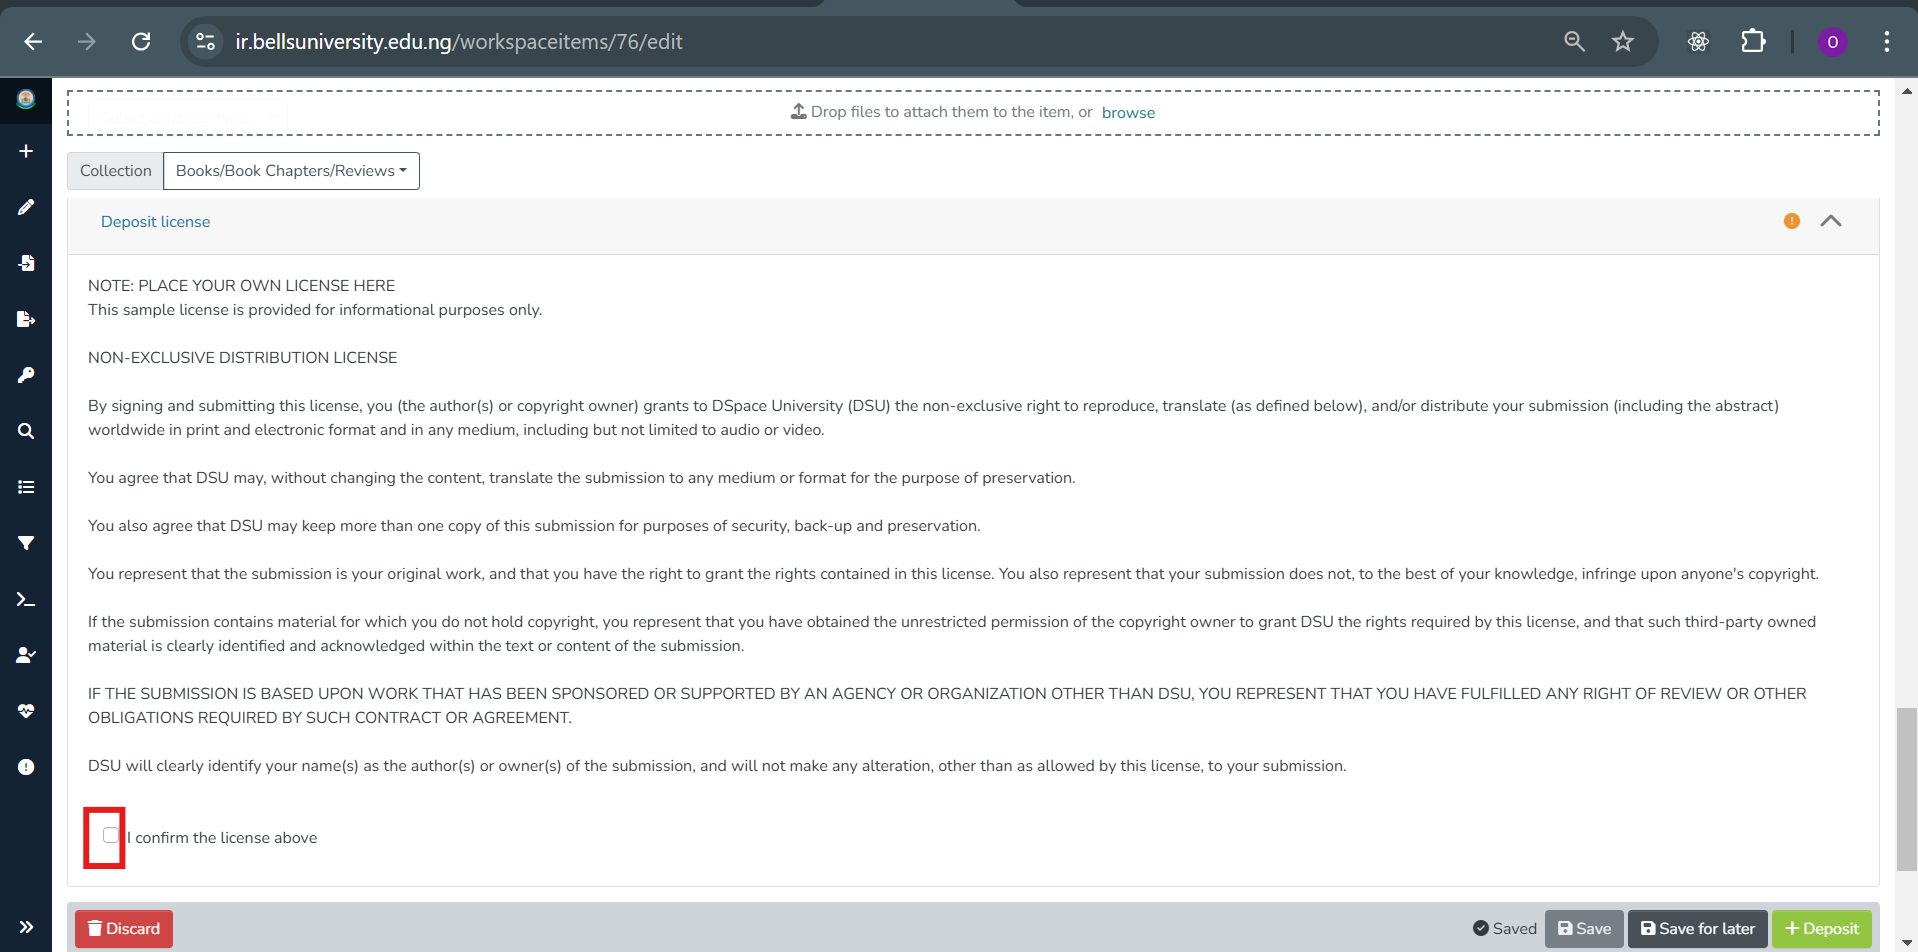
- Check the “I confirm the license above” checkbox to accept the repository license.
- Use the ‘Save’ or the ‘Save for Later” button to save your submission progress.
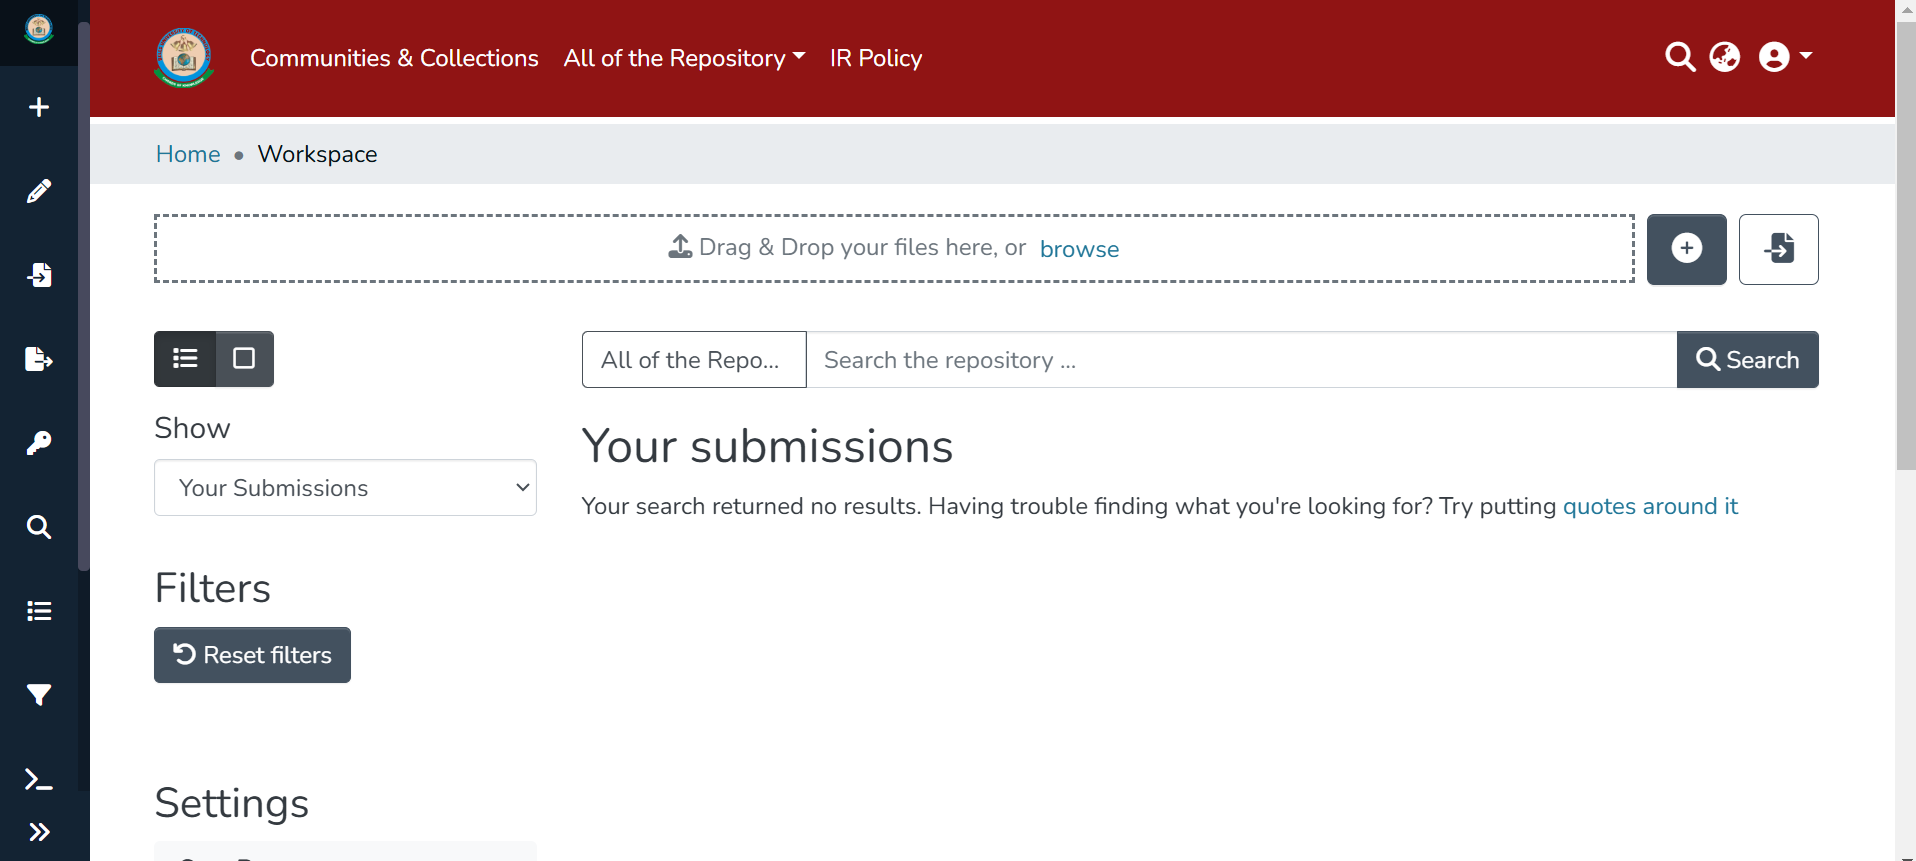
- “Save for Later” submissions can be continued from the Workspace.
- Click the Deposit button to submit the item to the repository.





5. VIEW SUBMISSIONS
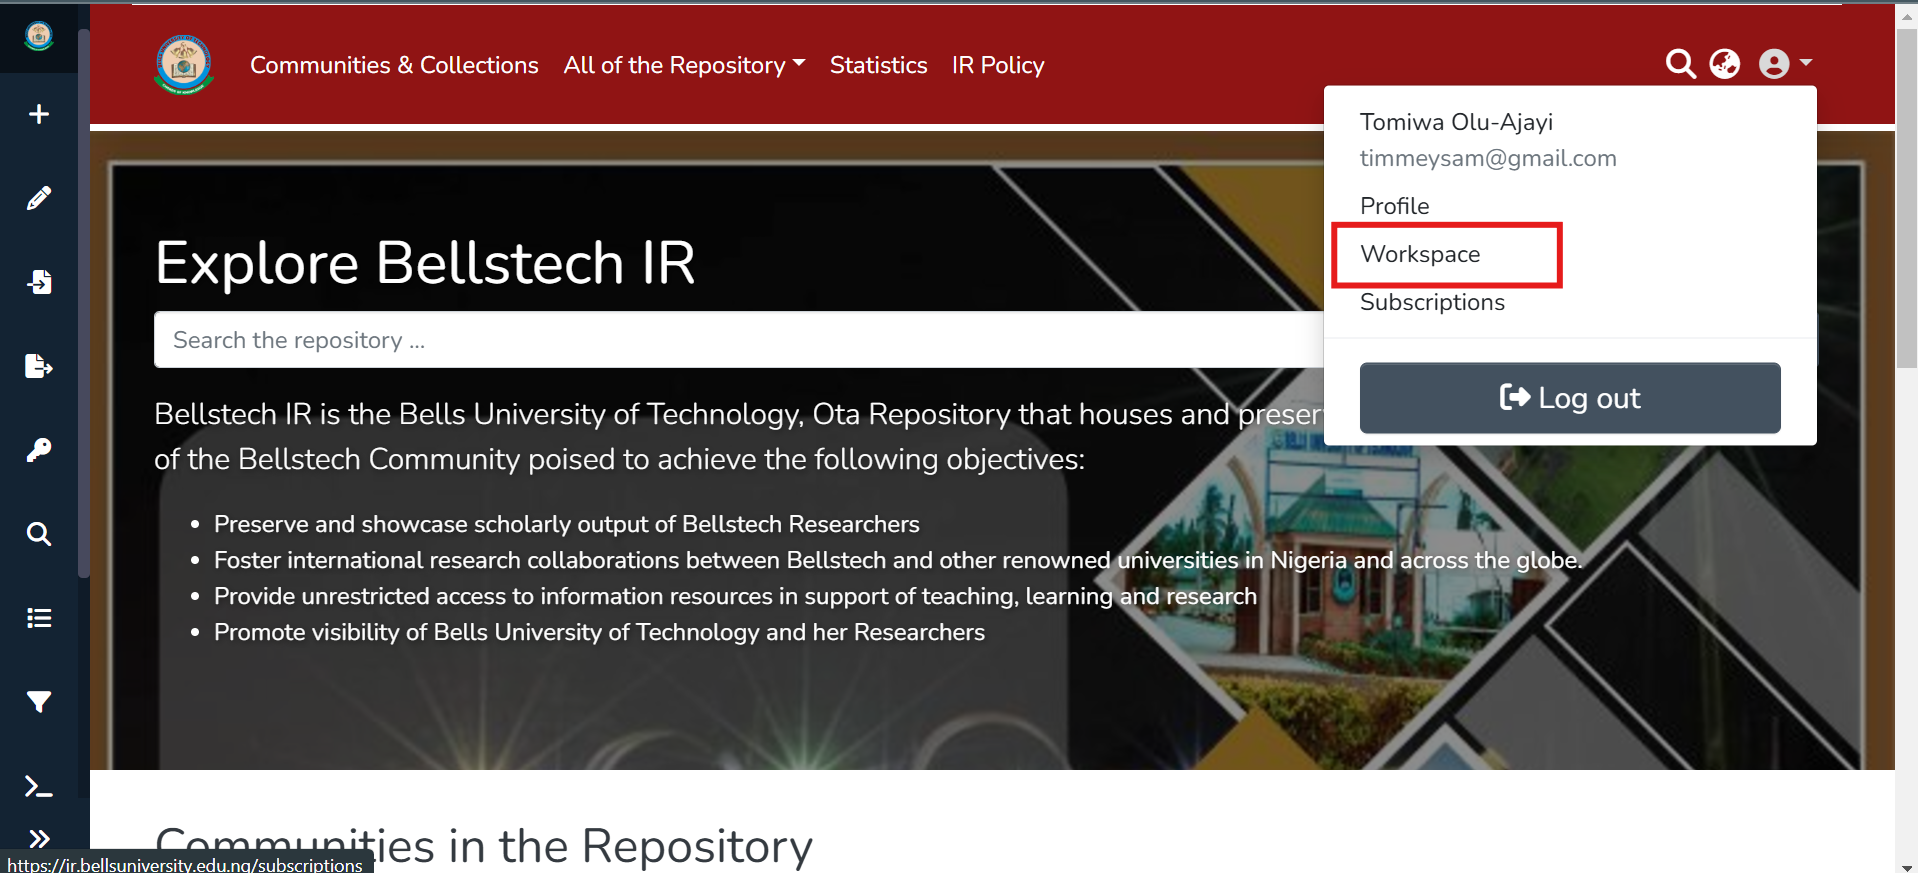
- Click on the user icon on the top right, click and select Workspace from the subsequent drop-down list to view your previous submissions and submissions in progress.
